You Can Now Protect Managed Disks With Azure Backup
The largest drawback of Managed Disks has been the inability to back them up individually, until now.
Azure Backup allows you to backup your managed disks separately outside of Azure VM Backup. This means you can choose to backup your OS and/or data disks. In this post, I’ll show you how to create a vault, policy, backup and restore of a disk.
Benefits of this Update Include:
- Protection for Individual Disks
- Protection for Shared Disks
- Regional Backup Options
- Incremental Policy Control
- No Performance Impact or Downtime During Backup Job
- Greater Cost Control for VM Data Redundancy
Backing Up Disks
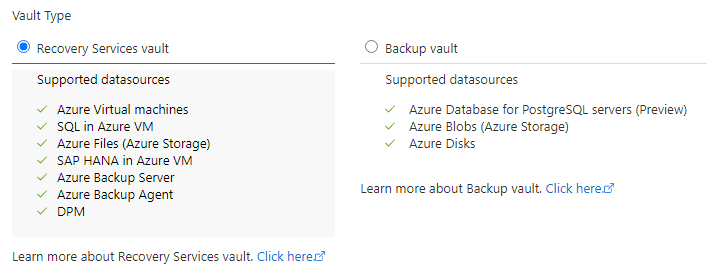
In order to protect Disks, we’ll need to create a Backup Vault first. Below you can see the differences between a Recovery Services vault and a Backup vault. Both offer similar but not all of the same support.
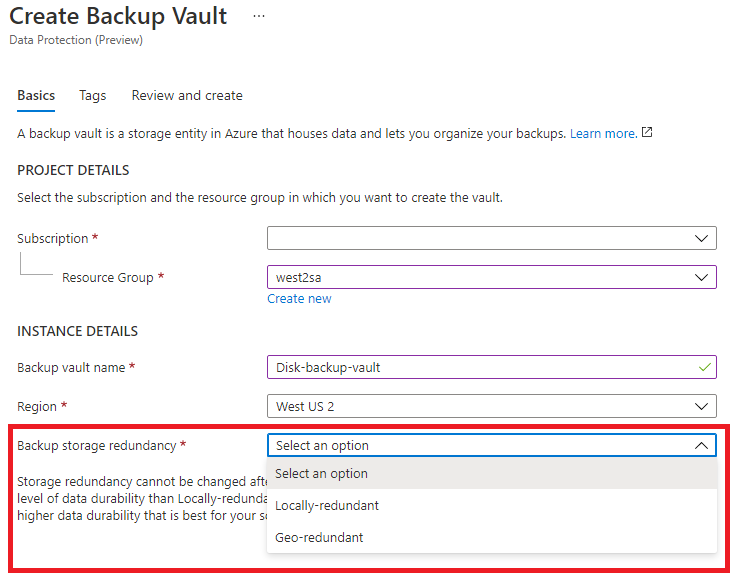
When creating a vault to backup Disks, be sure to choose Backup Vault. On the following step, you’ll define a subscription, resource group, backup vault name, region and backup storage redundancy. The highlighted section will allow you to have backups in a separate region in the event of a datacenter outage. Disks are considered LRS (Locally Redundant Storage) and have up to 3 copies of the same data within a given datacenter. Geo-redundant would be the best option for use with a backup vault.
In step 1, you’ll choose your backup type (Azure Disks) and a Backup Vault. This should look familiar for those who have used Azure Backup in the past for Virtual Machines.

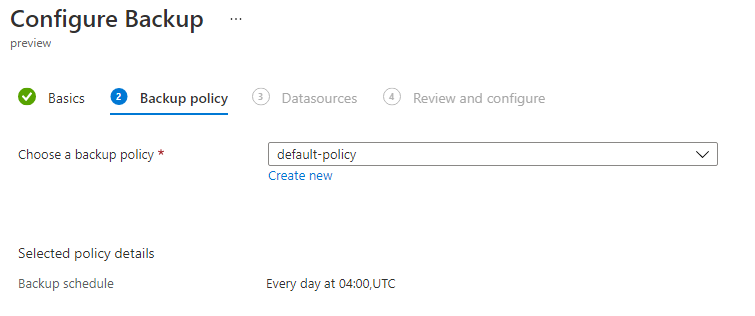
In Step 2, you’ll define a backup policy. I would recommend creating on specifically for the disks that you’ll be backing up.
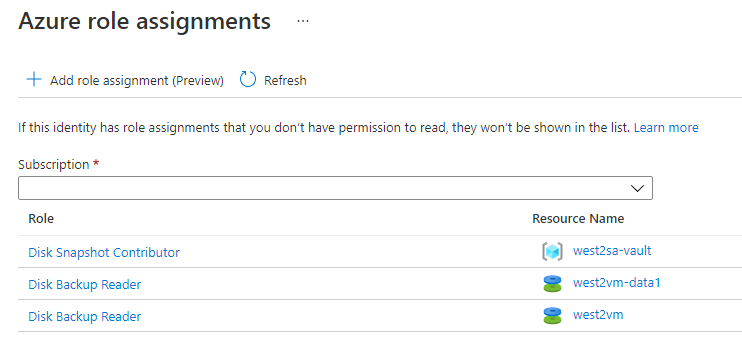
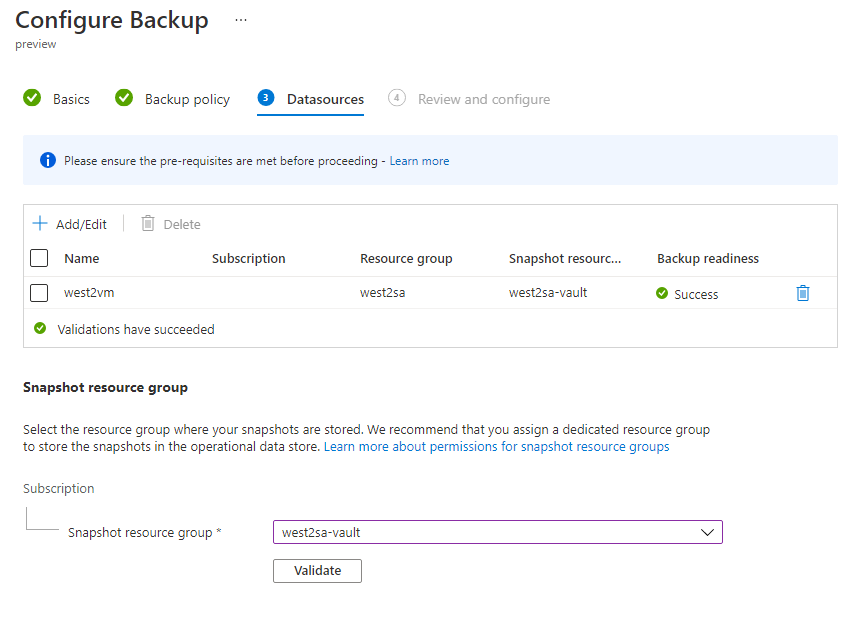
In step 3, you’ll target which disks you’d like to protect. There are pre-requisites which involve Identity Access Management (IAM) on the disk and the snapshot resource group. Details can be found here: https://docs.microsoft.com/en-us/azure/backup/backup-managed-disks#configure-backup
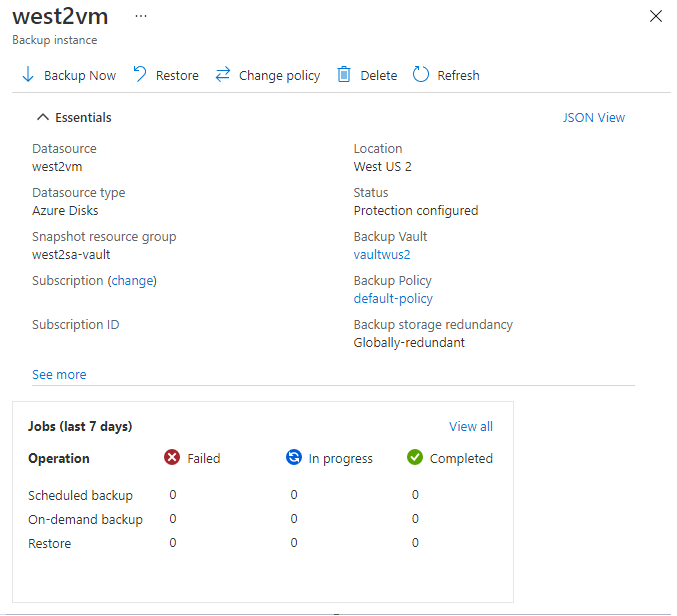
The disk is now protected in the West US 2 vault. The storage redundancy is shown as Globally-redundant.
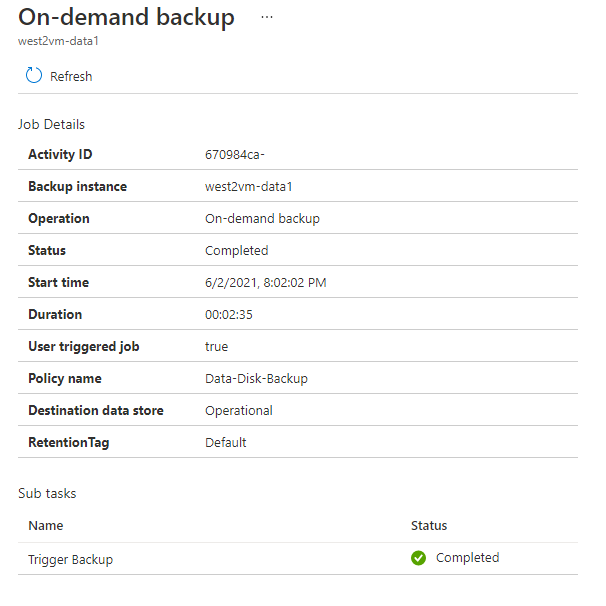
An On-Demand backup of an E1 4GB SSD disk would look like this.
Configuring Disk Backups
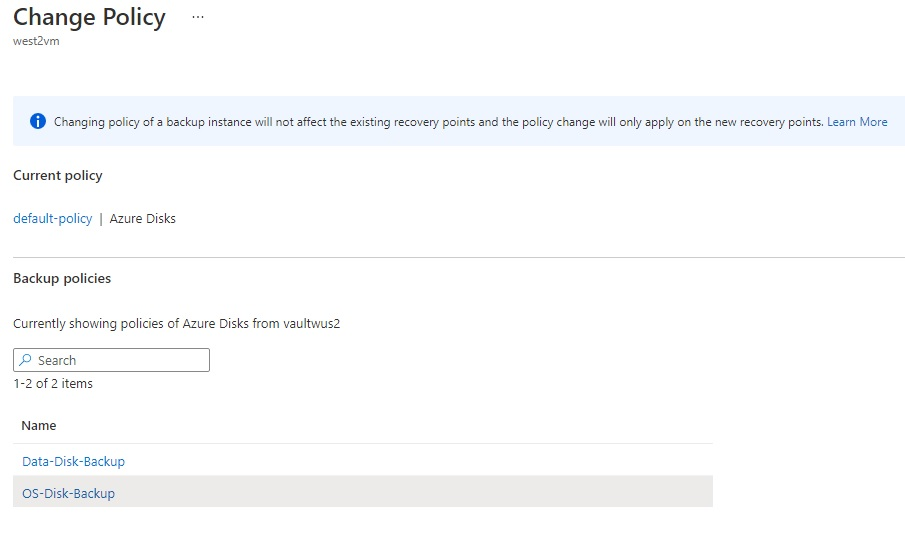
You can also change an backup policy on an existing protected disk. Changing the policy doesn’t affect your ability to restore to a point prior to the policy change.
Restoring Disks from Backup
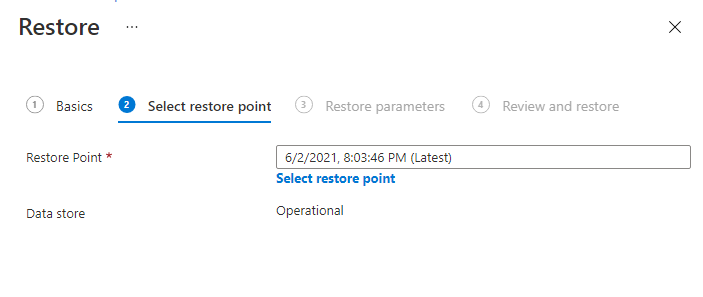
Restoring disks requires you to visit the disk overview for each protected item. You will be asked to choose a point in time to restore to. In my test, I used a 4GB E1 SSD to run a point in time restore. The entire restore took
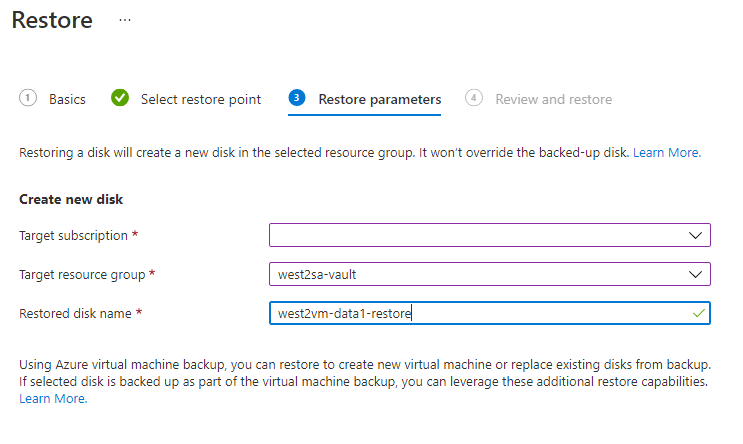
Next, we’ll enter the restore parameters which include Target Subscription, Resource Group and Disk Name.
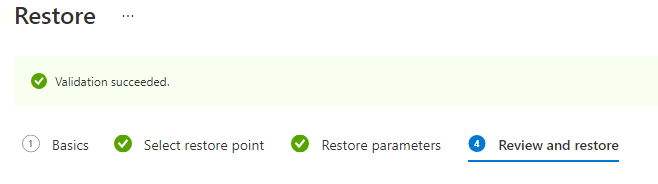
After moving to the Review and restore step, you’ll be greeted by the following message and stay on the screen until it has finished validation.
Validation in progress, this may take a few minutes.
Check your IAM on the target resource group if you experience this error: UserErrorDiskBackupRestoreRGOrMSIPermissionsNotPresent.
Verify that the target resource group has granted Disk Restore Operator to your vault identity.
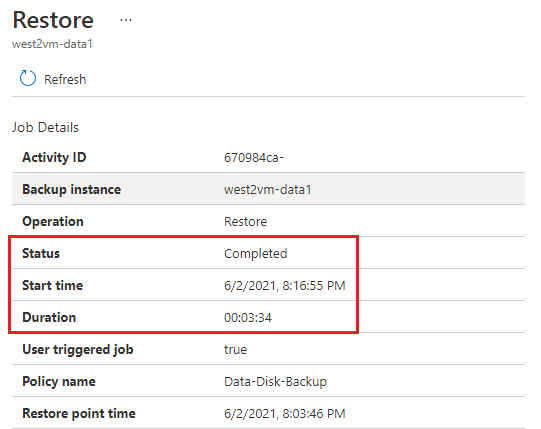
Finally, we’ll restore the disk to our point in time specified to a new target disk object. It will be up to the administrator to replace the disk attached to the VM with the newly restored disk.
More Information
https://docs.microsoft.com/en-us/azure/backup/disk-backup-overview
https://azure.microsoft.com/en-us/pricing/details/backup/